Explore the key muscles, correct form, and common mistakes of the hip bridge exercise. The hip bridge is key to building a strong lower body and healthy back.

Addressing Modern Lifestyle Challenges: Weak Lower Body and Back Discomfort
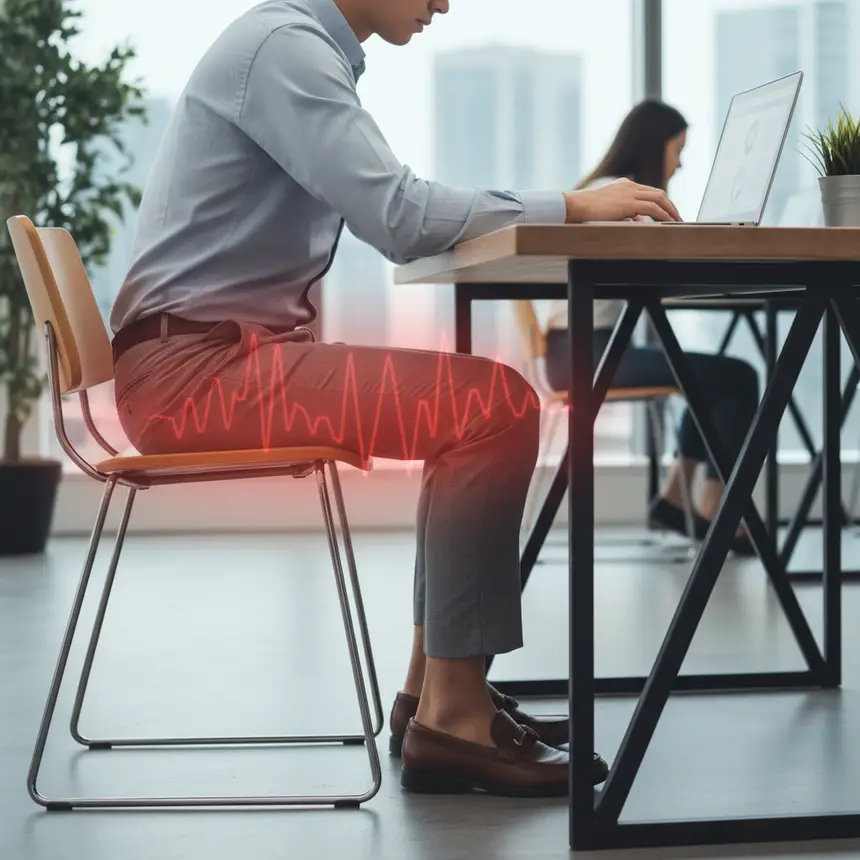
Our contemporary lifestyles, often characterized by extended periods of sitting, place considerable stress on our bodies. This sedentary habit frequently leads to weakened gluteal muscles and excessive tension in the lower back musculature. Such muscular imbalances can compromise pelvic stability, paving the way for persistent lower back discomfort and postural deviations. Beyond mere aesthetic concerns, underactive glutes can impair basic movements like walking and standing, ultimately diminishing overall physical function. If you're seeking an effective solution to these prevalent issues, consider incorporating the hip bridge exercise into your routine. The hip bridge is instrumental in simultaneously strengthening your glutes and core, offering significant relief and improvement for these common modern-day ailments.
Hip Bridge Exercise: Activating Key Muscles and Mastering Proper Form
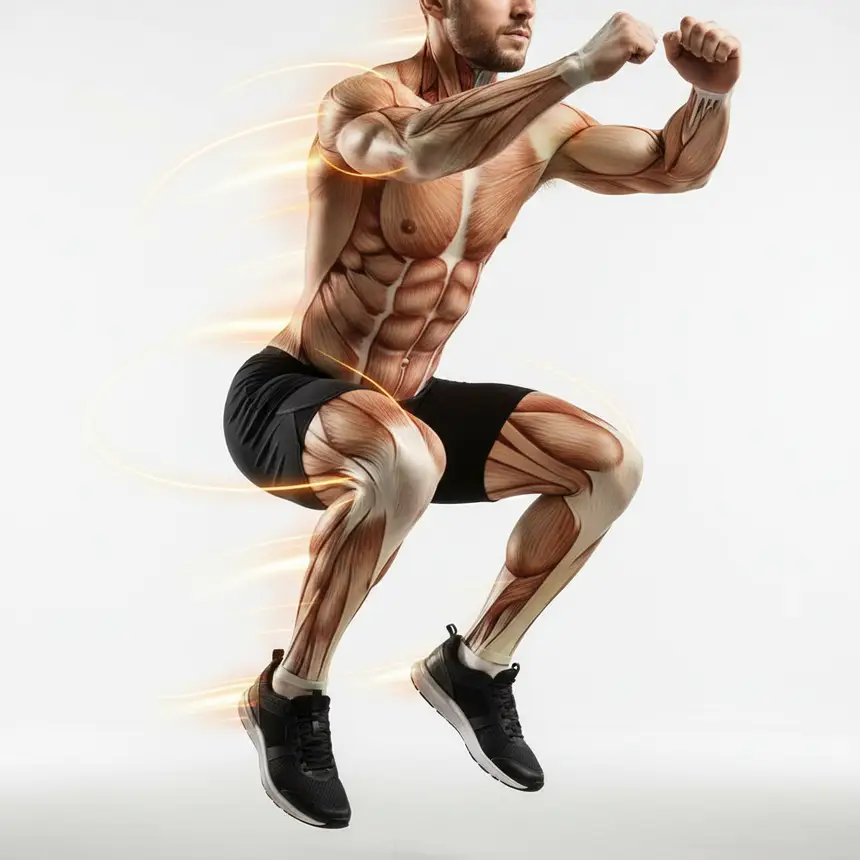
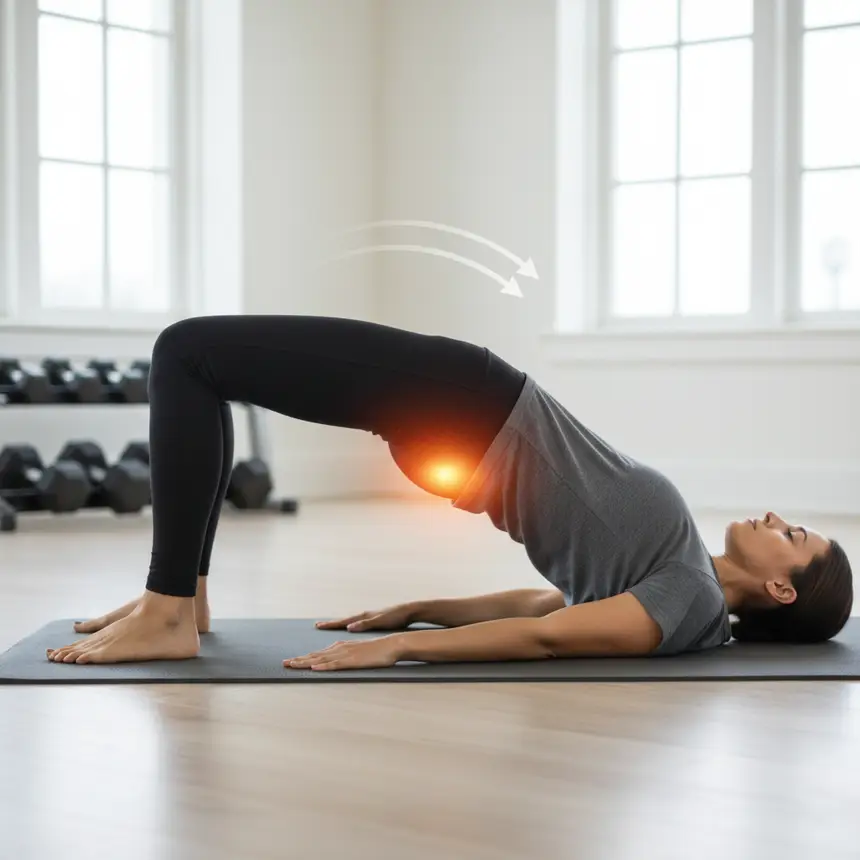
While the hip bridge exercise may appear straightforward, its true benefits unfold only when executed with precise form. This movement primarily targets the gluteus maximus, the largest muscle in your buttocks, and the hamstrings located at the back of your thighs. The gluteus maximus is crucial for developing hip volume and firmness, while the hamstrings assist in knee flexion and extension. Furthermore, your core muscles play a vital role in providing stability, ensuring that your lower back is protected from undue strain throughout the exercise.
Follow these steps for a perfect hip bridge:
Adjust your repetitions according to your fitness level. Beginners can aim for 3 sets of 15 repetitions, while more advanced individuals might target 4 sets of 20-25 repetitions.
Follow these steps for a perfect hip bridge:
- Begin by lying comfortably on your back on the floor.
- Bend your knees, placing your feet flat on the ground, hip-width apart. Position your heels about a fist's distance from your glutes. This specific distance is key to effectively engaging both your hamstrings and glutes; placing your feet too far can strain your lower back, while too close can put pressure on your knees.
- Rest your arms naturally by your sides, with your palms facing down on the floor.
- As you exhale, engage your abdominal muscles and slowly lift your hips off the ground. Be mindful not to hyperextend your lower back; instead, aim to create a straight line from your knees to your shoulders. Focus on contracting your glutes as if you're pushing the floor away with your heels.
- At the peak of the movement, squeeze your gluteal muscles firmly for 2-3 seconds, then inhale as you slowly lower your hips back to the starting position. Maintain tension in your glutes until just before your hips touch the floor.
Adjust your repetitions according to your fitness level. Beginners can aim for 3 sets of 15 repetitions, while more advanced individuals might target 4 sets of 20-25 repetitions.
※ This post contains affiliate links. I may earn a commission at no extra cost to you.

Key Considerations and Progression Strategies for an Effective Hip Bridge
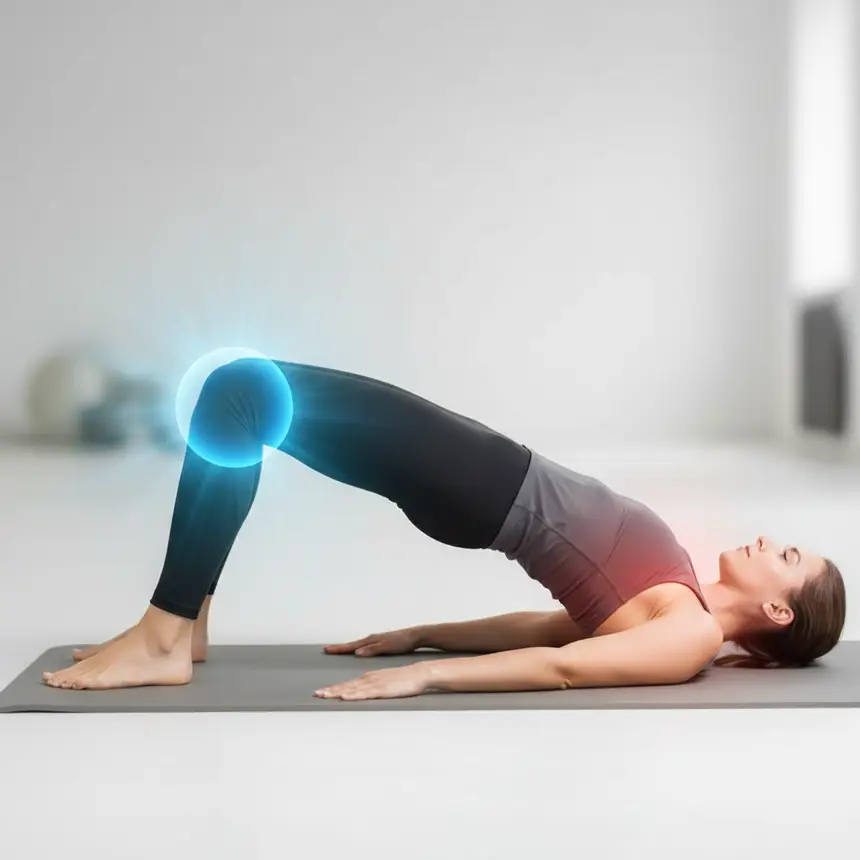
To maximize the effectiveness of the hip bridge exercise and prevent potential injuries, it's crucial to adhere to several important guidelines. Firstly, avoid overextending your lower back. Attempting to lift your hips too high can cause your spine to arch excessively, putting strain on your erector spinae muscles. This shifts the work from your glutes to your lower back, diminishing exercise efficacy and potentially leading to discomfort. Before lifting your hips, brace your core firmly and slightly tuck your pelvis, feeling your lower back press into the floor. This helps isolate the glutes and hamstrings.
Secondly, maintaining proper knee alignment is paramount. As you lift your hips, ensure your knees do not collapse inward or splay outward. They should always remain in line with your feet. Poor knee alignment can reduce glute activation, causing other muscles, like your inner or outer thighs, to compensate. If needed, try placing a small resistance band around your knees during the exercise to help maintain their stability and proper positioning.
Thirdly, relax your upper body. Unnecessary tension in your neck or shoulders can detract from the primary goal of the exercise and lead to unnecessary fatigue. Keep your gaze fixed on the ceiling, maintain a relaxed neck, and ensure your shoulders remain down, not shrugging towards your ears.
Consistency is key with the hip bridge exercise. Start with bodyweight to master the form, then gradually increase the intensity by performing single-leg variations or adding external weight (e.g., a dumbbell across your hips). Incorporate this exercise regularly to build strong, toned glutes and a stable core, fostering a healthier and more vibrant lifestyle.
Secondly, maintaining proper knee alignment is paramount. As you lift your hips, ensure your knees do not collapse inward or splay outward. They should always remain in line with your feet. Poor knee alignment can reduce glute activation, causing other muscles, like your inner or outer thighs, to compensate. If needed, try placing a small resistance band around your knees during the exercise to help maintain their stability and proper positioning.
Thirdly, relax your upper body. Unnecessary tension in your neck or shoulders can detract from the primary goal of the exercise and lead to unnecessary fatigue. Keep your gaze fixed on the ceiling, maintain a relaxed neck, and ensure your shoulders remain down, not shrugging towards your ears.
Consistency is key with the hip bridge exercise. Start with bodyweight to master the form, then gradually increase the intensity by performing single-leg variations or adding external weight (e.g., a dumbbell across your hips). Incorporate this exercise regularly to build strong, toned glutes and a stable core, fostering a healthier and more vibrant lifestyle.
Frequently Asked Questions
Q. My lower back hurts when I do hip bridges. What should I do?
A. If you experience lower back pain during hip bridges, it might be due to over-arching your back or using your lower back muscles excessively instead of your glutes. Before you start, engage your core tightly and slightly tuck your pelvis to flatten your lower back against the floor. Focus on squeezing your glutes at the top rather than just lifting your hips high.
Q. How can I make my hip bridge exercise more effective?
A. To maximize the effectiveness of your hip bridges, focus on proper form and a strong glute-mind connection. Squeeze your glutes hard for 2-3 seconds at the top of the movement and lower slowly with control, feeling the resistance. For increased challenge, you can add a resistance band above your knees or try single-leg hip bridges.
Q. Is it okay to do hip bridges every day?
A. Hip bridges are relatively low-impact and can often be performed daily without issue, especially when starting out. However, muscles also need rest and recovery to grow stronger. Aiming for 3-5 sessions per week, allowing for rest days in between, can be more effective for muscle development. Always listen to your body and take a day or two off if you feel any soreness or pain.